First introduced in vSphere 6.5, the built-in file-based backup and restore is a native backup solution that is available within the VMware Appliance Management Interface on port 5480. It supports backing up both the vCenter Server Appliance and Platform Services Controller (PSC). There is no need for any type of backup agents, nor is any quiescing or downtime of the VCSA or PSC required. The backup files are then streamed to a backup target using one of the supported protocols: FTP(s), HTTP(s), and SCP. These are all the files that make-up the VCSA, including the database.
Restoring the VCSA or PSC only requires mounting the VCSA ISO used during its deployment. Select the restore option and point to the backup protocol used. The restore workflow first deploys a new appliance, retaining its original identity. This is key since other solutions communicating to the VCSA will continue to do so as its UUID remains the same. Then it imports the backup files from the selected backup bringing the VCSA back online. This guide is written to show how to backup and restore vCenter 6.7.
I have broken up the steps into 3 parts.
- Create an FTP Backup Server
- Backup vCenter
- Restore vCenter
Step 1: Create an FTP Backup Server
-
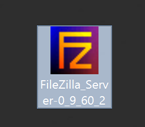
Download FileZilla Server https://filezilla-project.org/

-
Run the installer on your Windows Server
- Click on Next

-
Click on Next
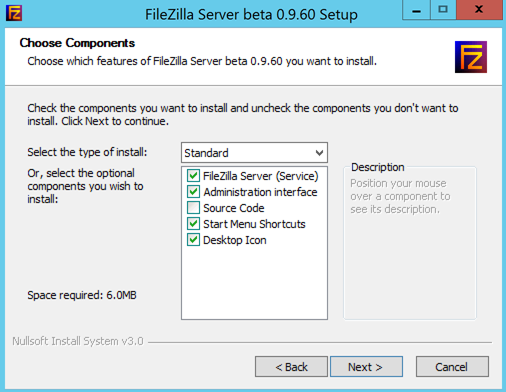
- Click on Next
-
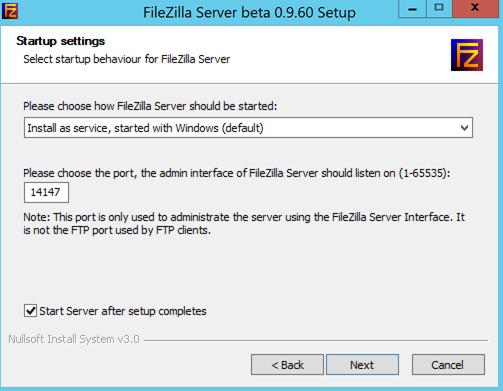
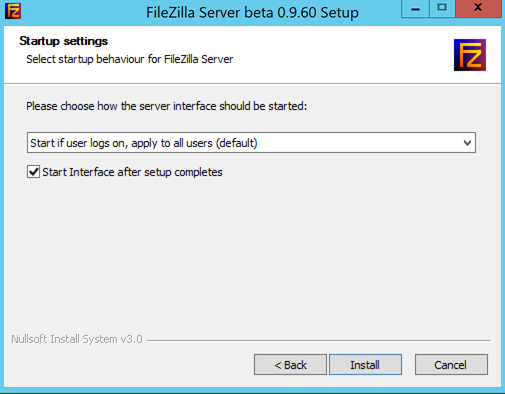
Click on Install
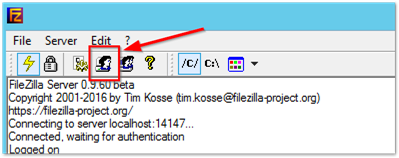
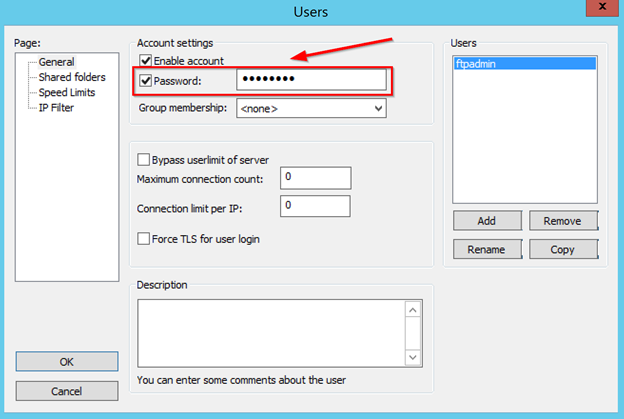
- In the following steps, we will need to create a local account to be able to access the FTP Server. Click on the Users Icon on the top
-
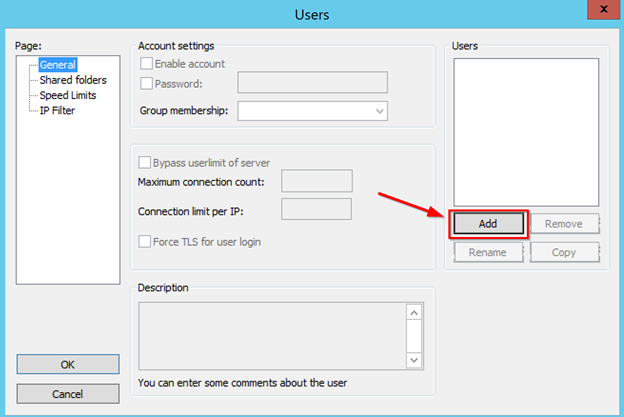
Click on Add
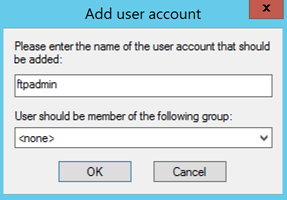
- Create a local user account to access the FTP server
- Create a password for better security
-
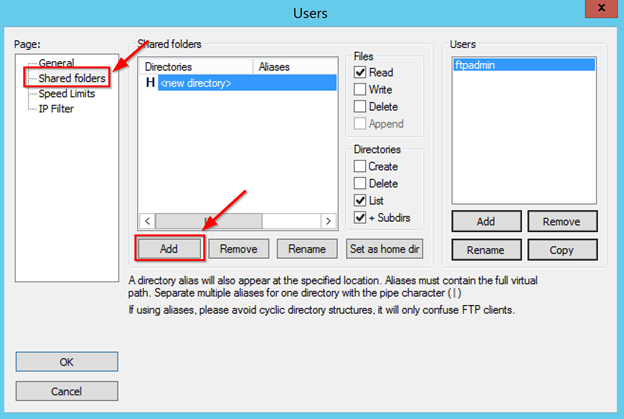
Click on Shared Folders and click on Add
-
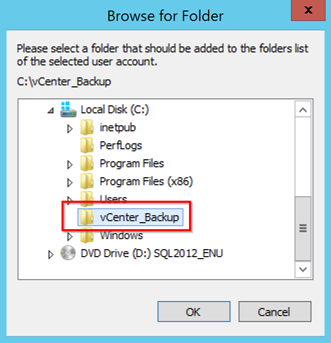
I’ve pre-created a folder called vCenter_Backup and selected it
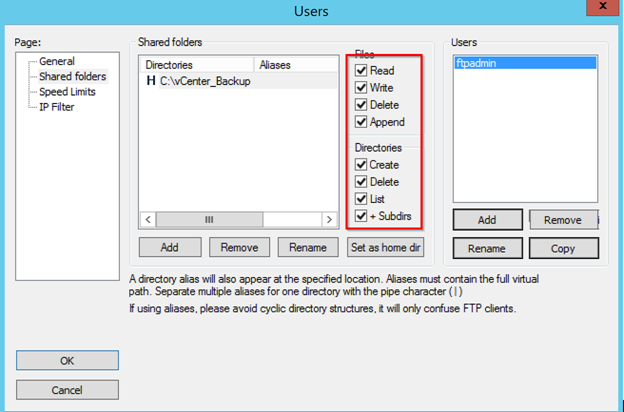
- Check all the boxes on Files and Directories
Step 2: Backup vCenter Server Appliance
-
Login go your vCenter Appliance Manager http://FQDH:5480. Login as Root
-
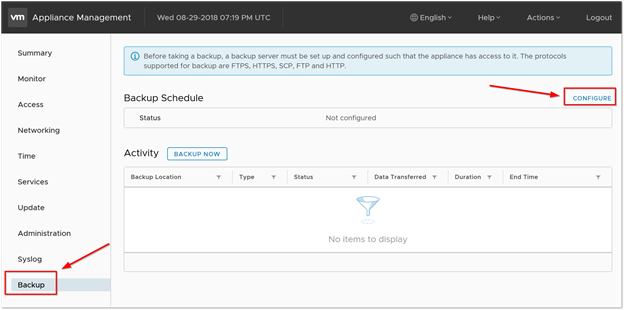
Click on Backup > Configure
-
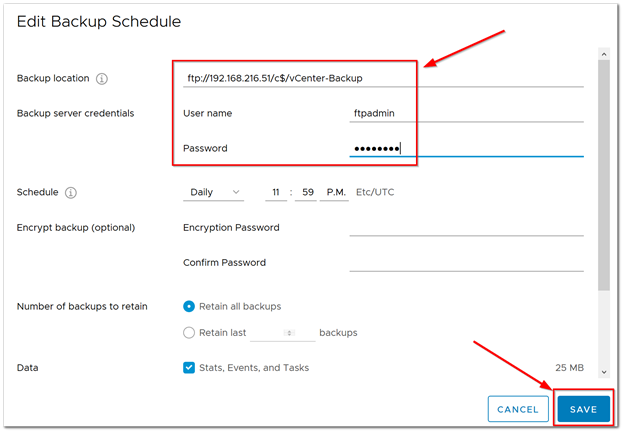
Enter the backup location and username and password (Note we will keep the default backup schedule for now)
-
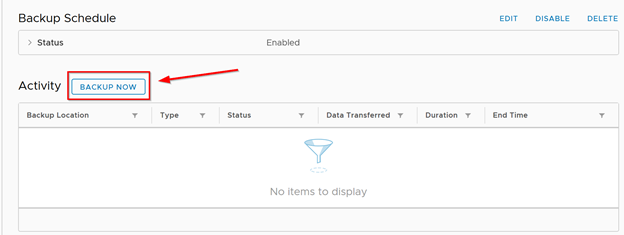
Since we want a backup file now, we will click on Backup Now
-
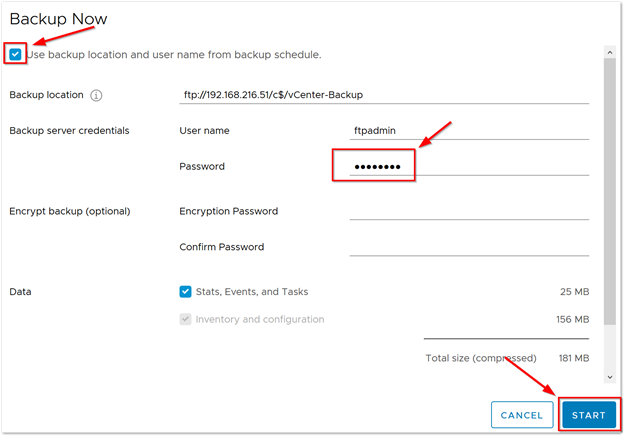
Check the first check box which will prefill all the information for us. You must enter the password however and then click on Start
-
Wait till the backup is completed

-
Verify there is a backup folder

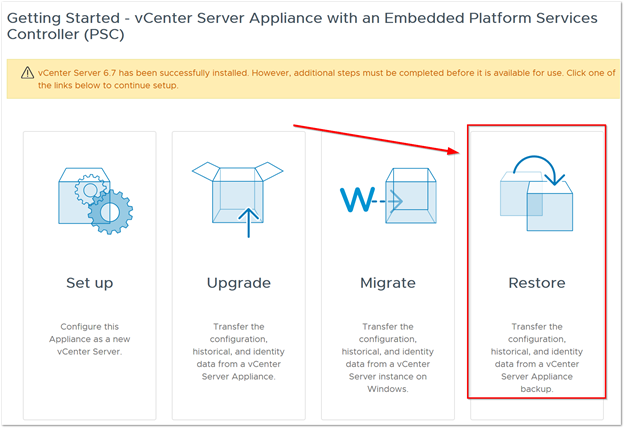
Step 3: Restore vCenter Server
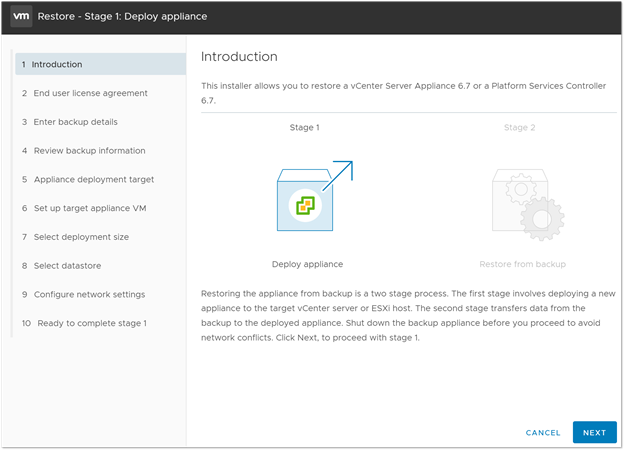
- The Restore Wizard is located in the VCSA ISO. Open the VSCA ISO and double click on vcsa-ui-install > Win32 > Installer.exe

-
Click on Restore

- Click on Next
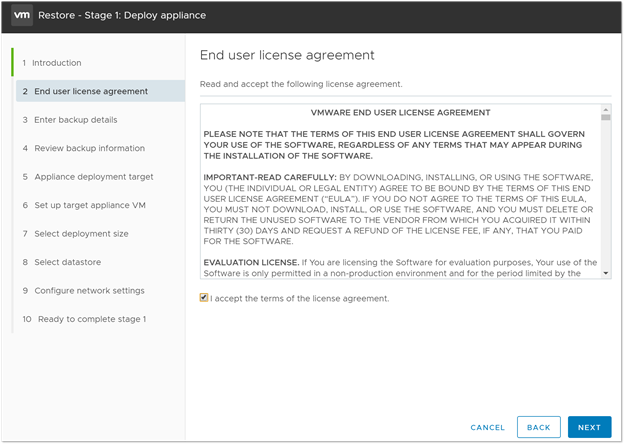
- Accept the User Agreement and click on Next
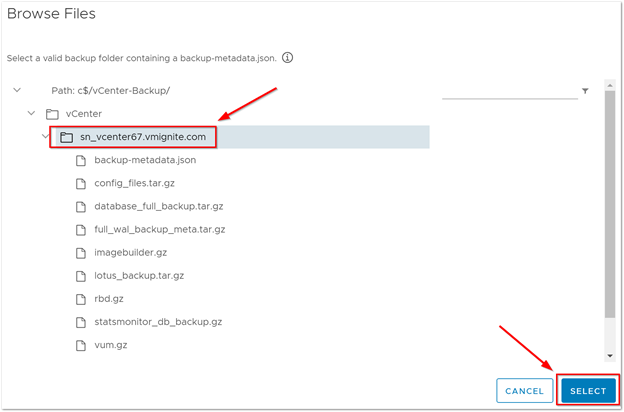
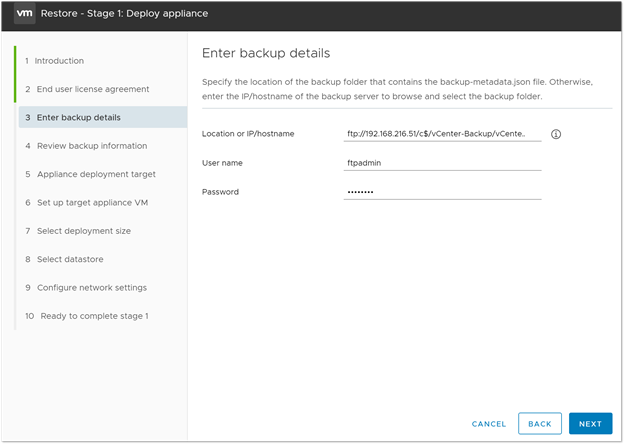
- In this procedure I had to enter in just the root of my FTP shared folder

- This led me to this screen where I had to select the backup folder
- Now that the full download path is there, we can click on Next
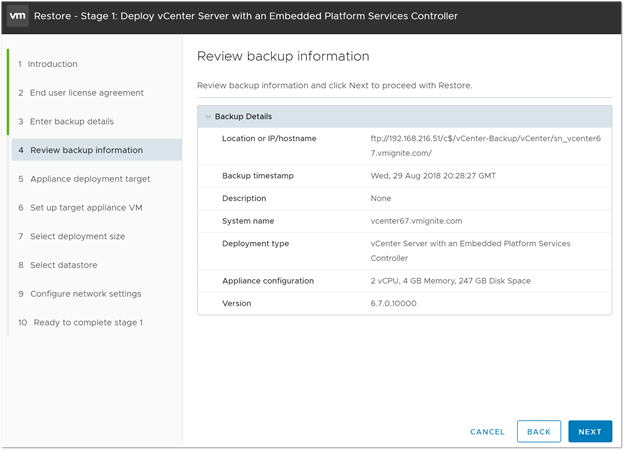
- Review and then click on Next
-
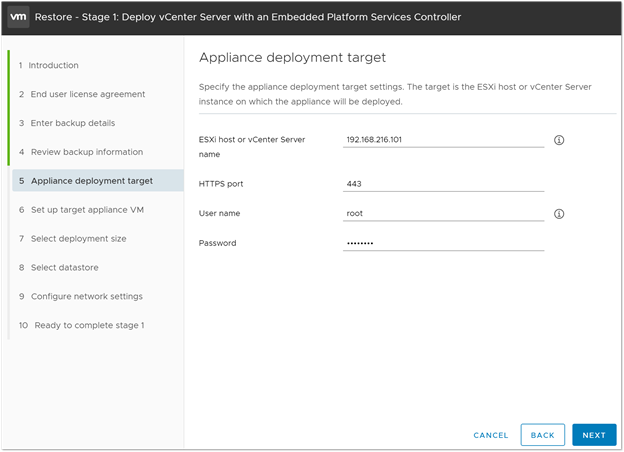
Enter in the username and password on where you want to install the appliance
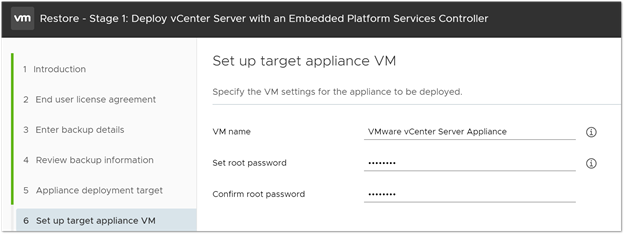
- Enter in a root password
-
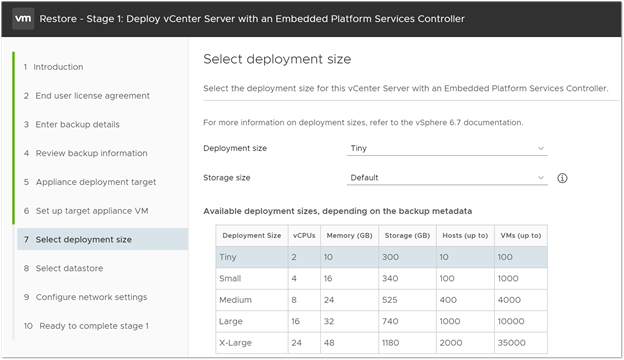
Here you can change the sizing if you like. Click on Next
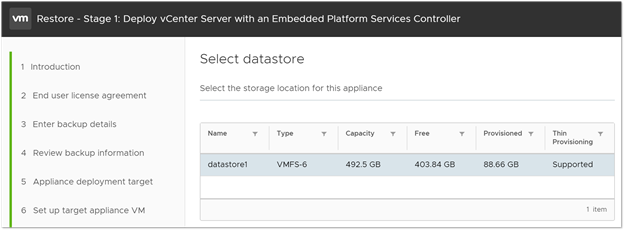
- Select a datastore and click on Next
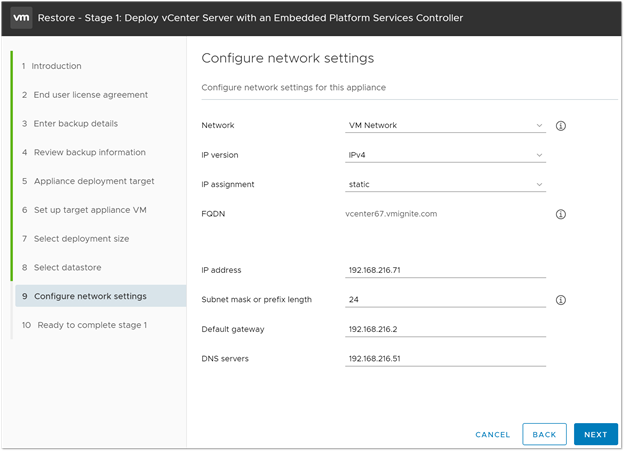
- Choose the same or change the IP address here and click on Next
-
Review and click on Finish
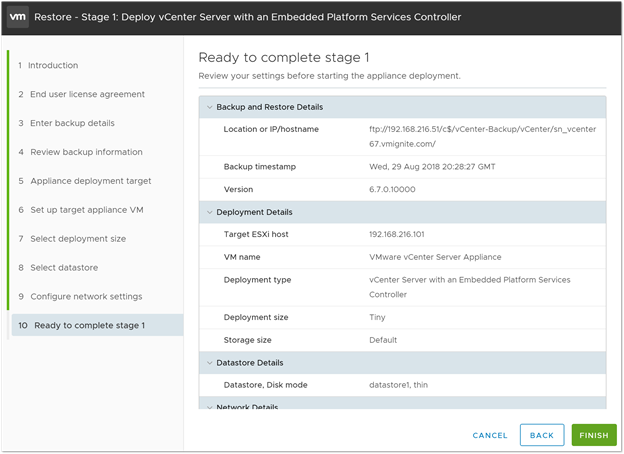
- A new appliance will now be deployed

-
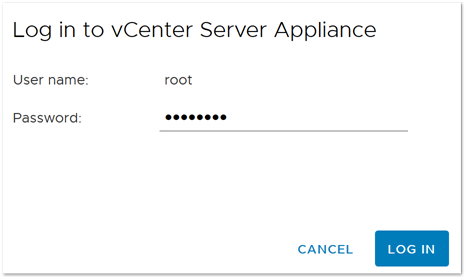
Once Stage 1 is completed we will need to run Stage 2 of the restore. Open a browser and go to Http://FQDN:5480. Click on Restore
- Login to the VCSA as root
-
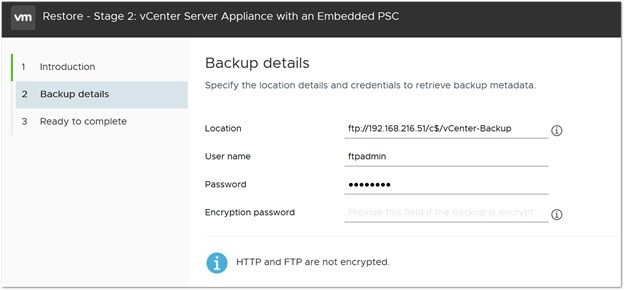
Enter in the path of the backup file
-
Review and click on Finish
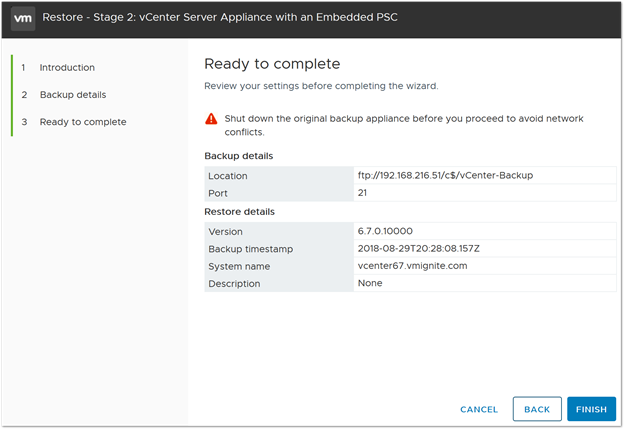
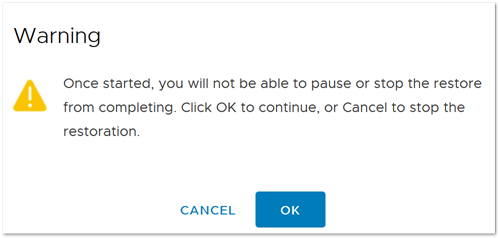
- Click on OK. Once completed you can power on your vCenter and see all your settings restored