vCenter 6.7 has a few new features, numerous enhanced features, and some performance improvements. Some of my favorite features are improved HTML5 client, improved vCenter backup management, and improved performance monitoring out of the box. This guide will show you how to install vCenter 6.7 in embedded mode. Also there will be useful links and tips as well. Future post will include a full guide on how to do vCenter built-in HA, file based backup and restore of vCenter, and more.
vCenter 6.7 Tips
- vSphere 6.7 and vSphere 6.5 Update 2 introduced enhanced linked mode support for embedded PSC deployments therefore do not use external PSCs as they will be depreciated. vSphere 6.7 Update 1 and above has a converged utility to converge the external PSC back to the vCenter Appliance.
- To migrate/update to vCenter 6.7, you must have vCenter 6.0 or vCenter 6.5. vCenter 5.5 is not supported
- Leverage the built-in HA for vCenter https://blogs.vmware.com/vsphere/2018/04/vcenter-high-availability-deep-dive-part-1.html
-
Leverage the built-in vCenter backup and restore tool https://blogs.vmware.com/vsphere/2018/04/vcenter-high-availability-deep-dive-part-2.html
- Test vCenter 6.7 with the free Hands On Lab http://labs.hol.vmware.com/HOL/catalogs/lab/4741?src=WWW_us_MY_ZKH3m8ceDwArRBzgUFk4&int_cid=70134000001Caa8
vCenter 6.7 Features and Useful Links
What is New
Upgrade Consideration
https://blogs.vmware.com/vsphere/2018/04/upgrade-considerations-vmware-vsphere-6-7.html
External PSCs going away
https://blogs.vmware.com/vsphere/2018/11/external-platform-services-controller-a-thing-of-the-past.html
Release Notes
https://docs.vmware.com/en/VMware-vSphere/6.7/rn/vsphere-esxi-vcenter-server-67-release-notes.html
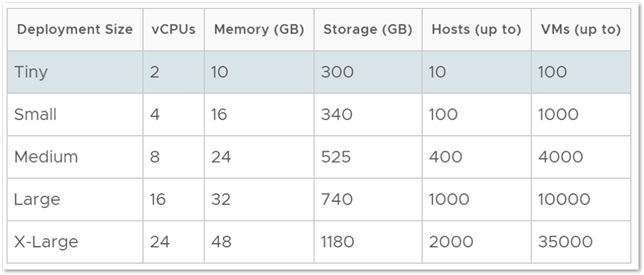
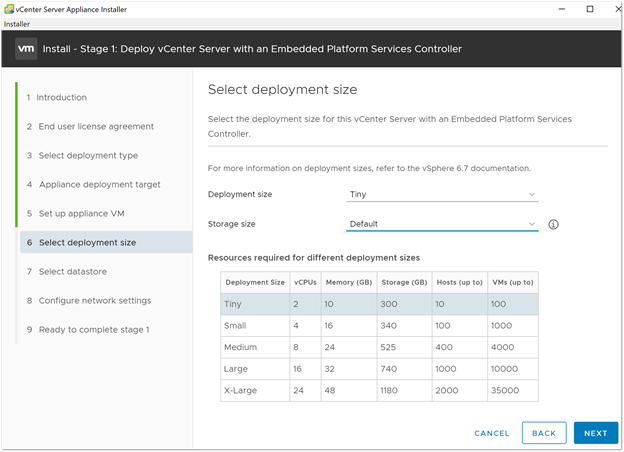
vCenter 6.7 Sizing
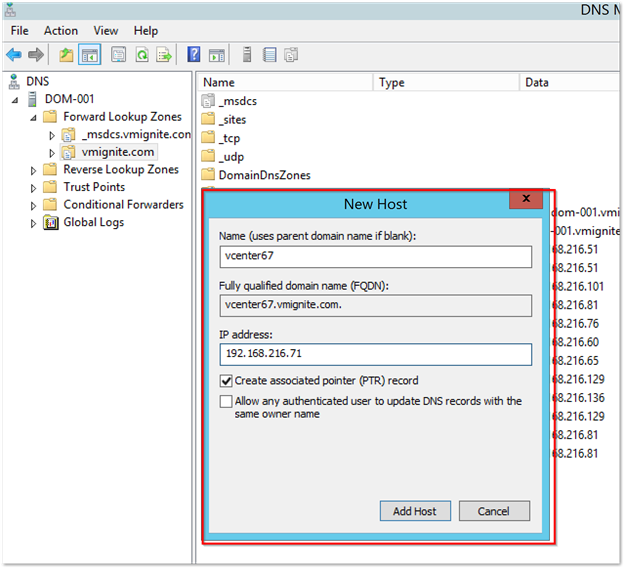
Step 1: Adding DNS Entry for vCenter Appliance
- Go to your DNS Server and manually add the FQDN for your vCenter Appliance
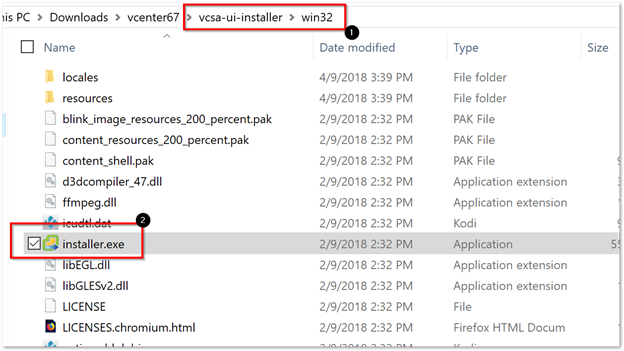
Step 2: Install vCenter 6 Appliance
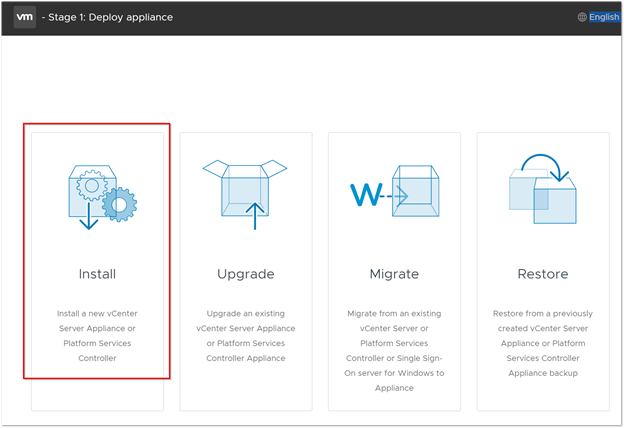
- Open the VSCA ISO and double click on vcsa-ui-install > Win32 > Installer.exe
- Click on Install
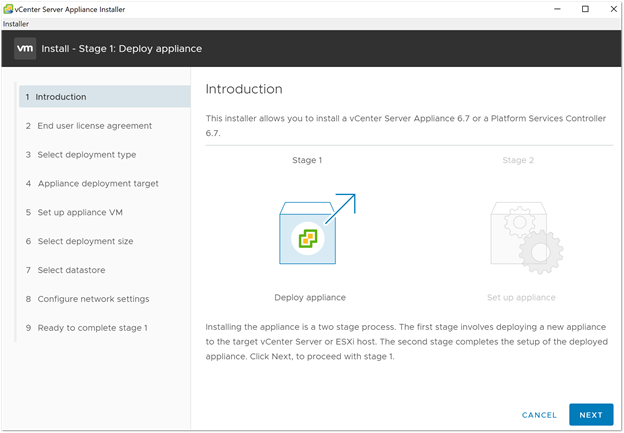
-
Click on Next
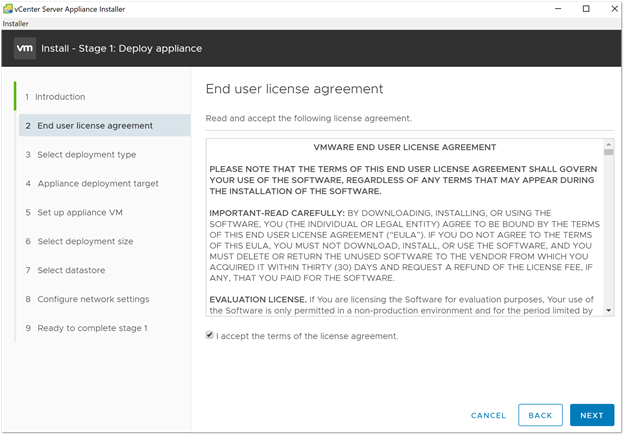
-
Accept the License and click on Next
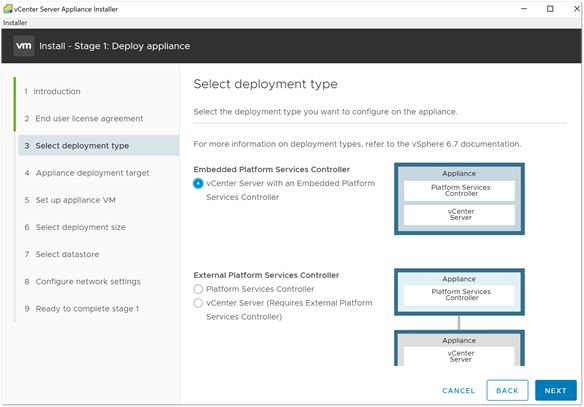
-
Select your platform and click on Next
- Enter the ESXi Host you would like to install the appliance to and click on Next

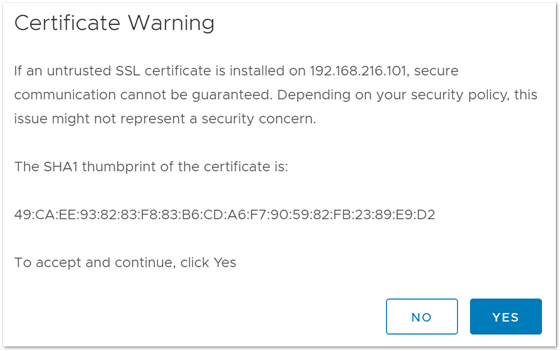
- Click on Yes
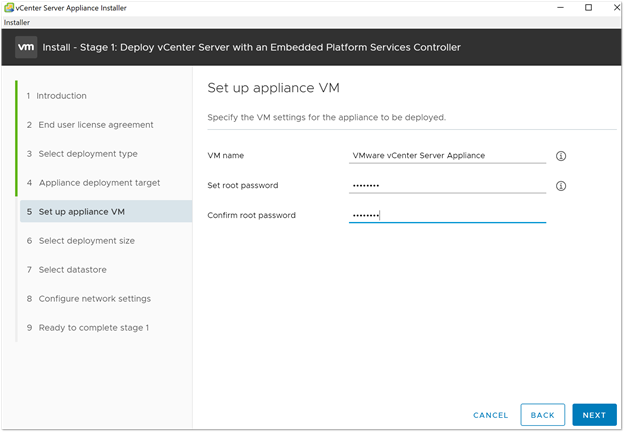
- Enter the vCenter Appliance name and password
- Select the Appliance size and click on Next
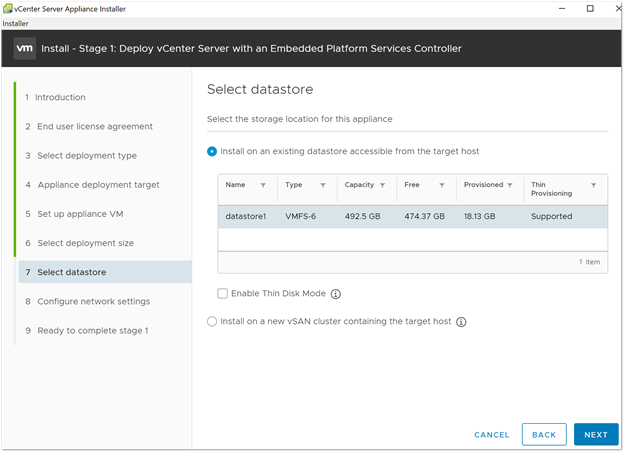
- Select Datastore and click on Next
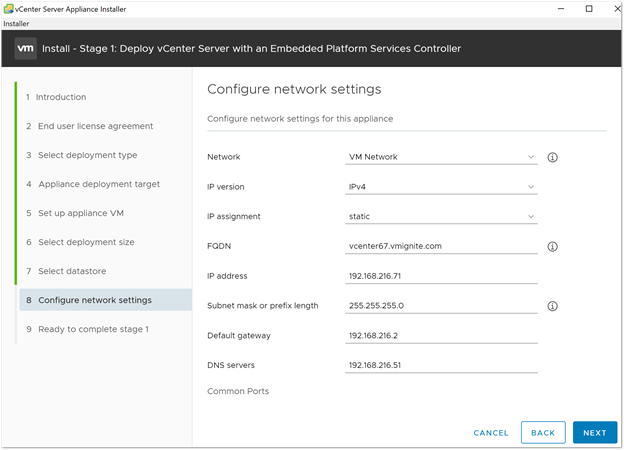
- Enter the network information and click on Next
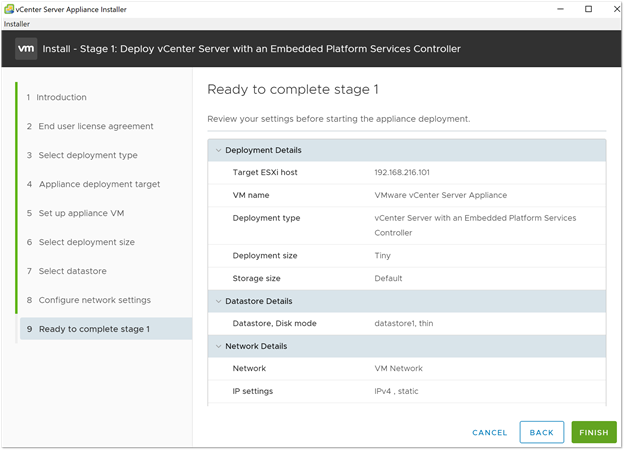
- Verify everything and click on Finish
-
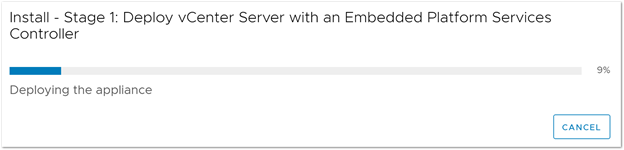
Wait till the deployment is complete
-
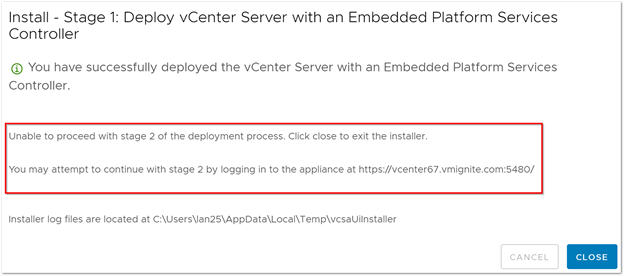
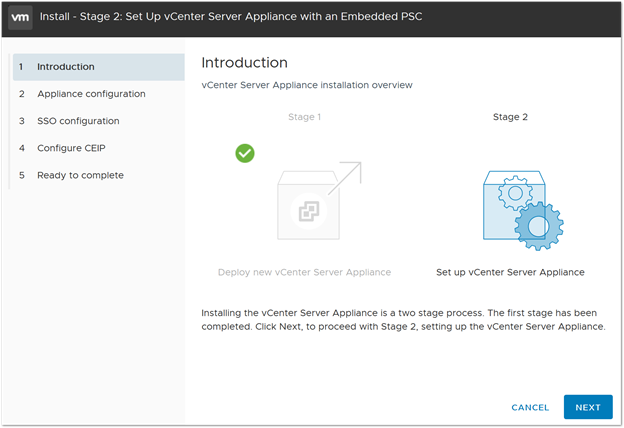
We get a message that Stage 2 cannot be completed. We will need to open a browser and go to htts://FQDN:5480
-
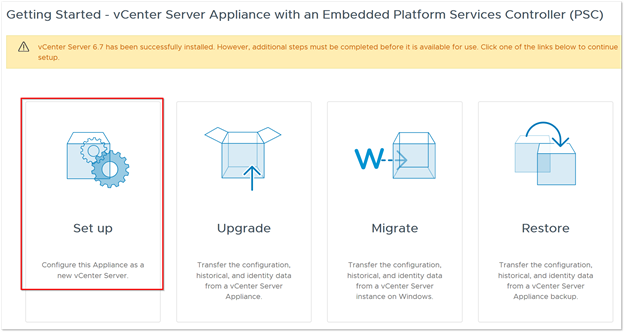
Click on Setup
-
Click on Next
-
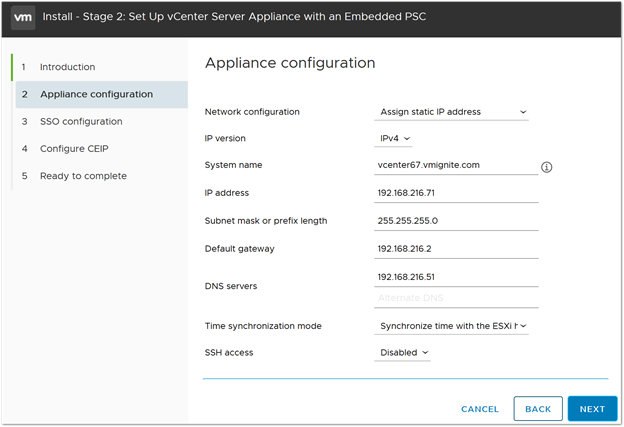
Verify the Applicance information and click on Next
-
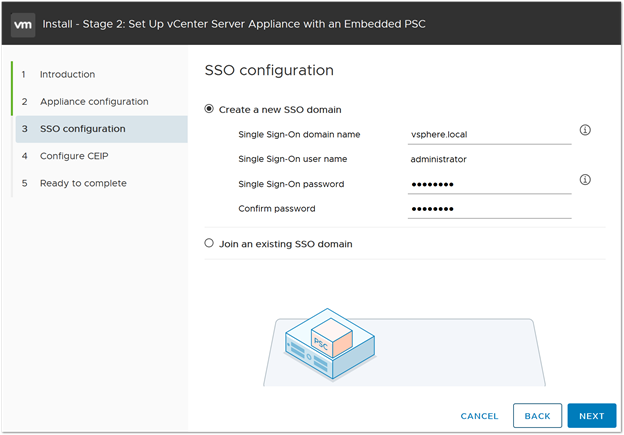
Enter the password for vCenter Login and click on Next
-
Click on Next
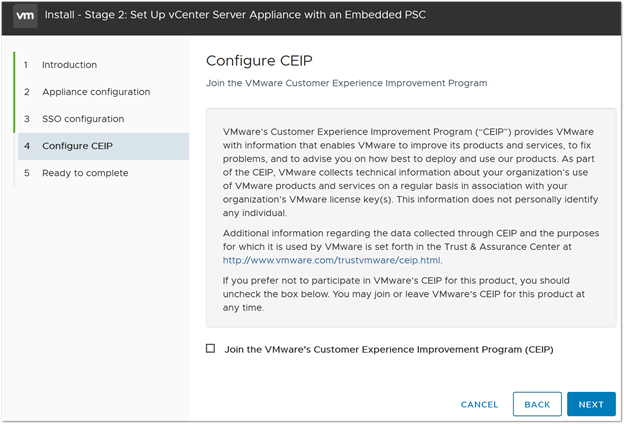
-
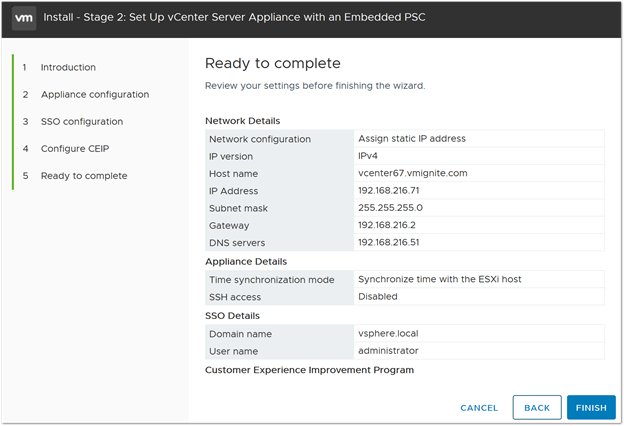
Verify all the information and click on Finish
-
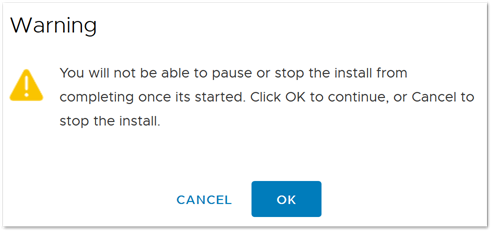
Click on OK once the warning shows up
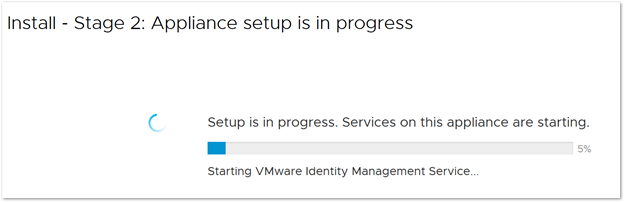
- Installation will begin
Step 3:
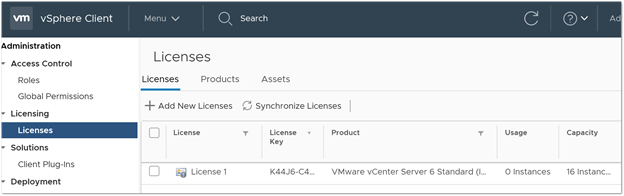
Enter vCenter Server License
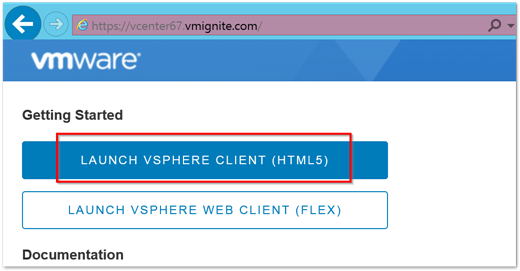
- Open a browser and enter the FQDN of the vCenter Server. Click on Launch vSphere Client (HTML5)
-
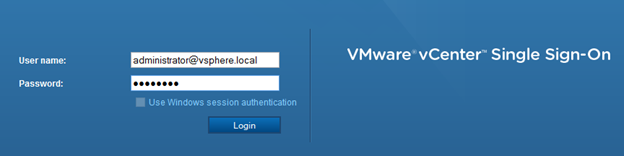
Login as Administrator@vsphere.local and the SSO password we set earlier
- Select Home > Licensing
> + Add New Licenses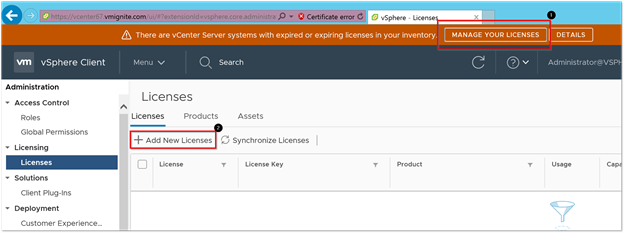
- When you are done you should see your license key