To enable high availability (HA), the cluster requires a data node be converted to a replica of the master node. This node is an exact copy of the Master Node and syncs with the master at all times just in case the Master node fails. When present, the Replica Node can take over the functions of the Master node. When a problem occurs with the master node, failover to the replica node is automatic and requires only two to three minutes of vRealize Operations Manager downtime. Data stored on the master node is always 100% backed up on the replica node. In addition, with HA enabled, the cluster can survive the loss of a data node without losing any data.
-
Pre-requisites
- Master Node must have been installed and configured
- The HA node must be installed as an additional installation with a separate IP address
- Make sure both master and HA node has DNS entries
-
When configuring the HA cluster, vROPS may be unavailable for 20 minutes
-
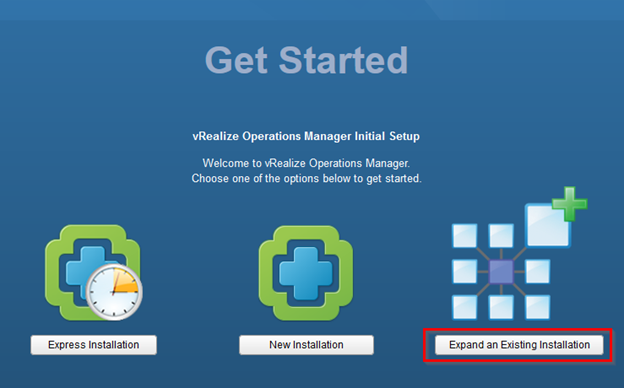
Open a browser and type in the vROPS IP address or FQDN name of your HA node
-
Click on Expand an Existing Installation
-
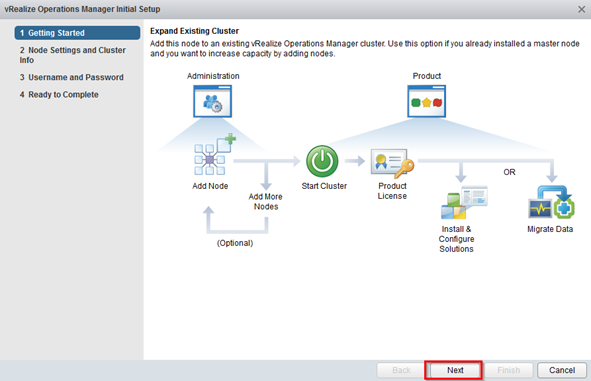
Click on Next
-
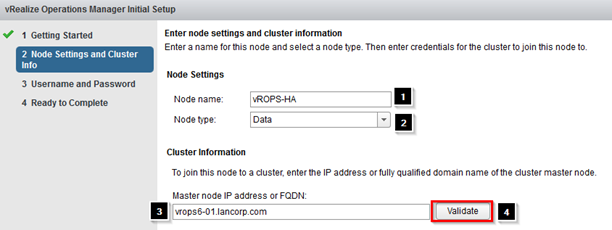
Configure the node settings
- Provide a name for the HA node
- Select Data from the dropdown
- Enter the Master Node FQDN
-
Click on Validate
-
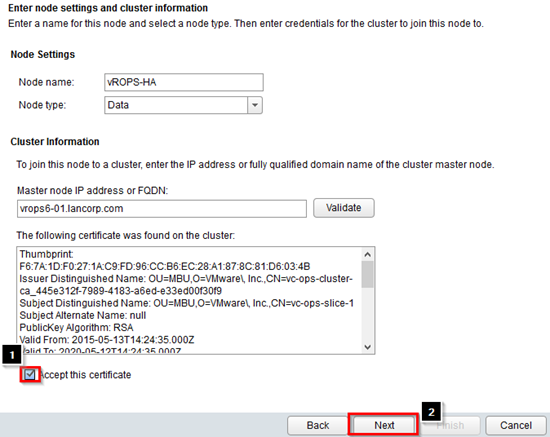
Accept the Certificate and click on Next
-
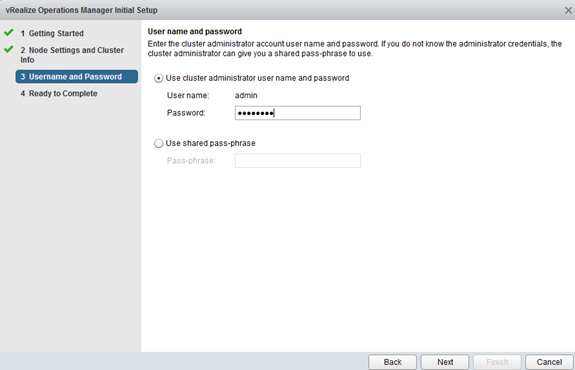
Type in the admin password and click on Next
-
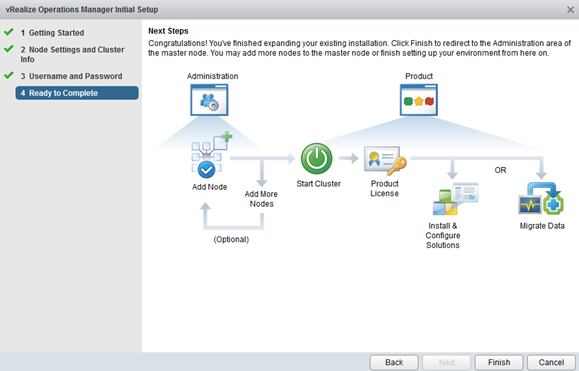
Click on Finish
-
The configuration process will start, wait till it is completed

-
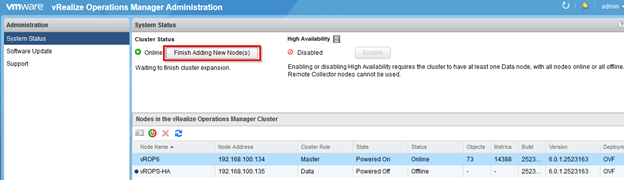
Once complete you should now see a status of Online and you should see your master node and your HA node in the list

-
Click on Finish Adding New Node(s)
-
Click on OK

-
It will take about 10 minutes to complete
-
Log back in to vROPs admin console using FQDN as https://FQDN-vROPS/admin

-
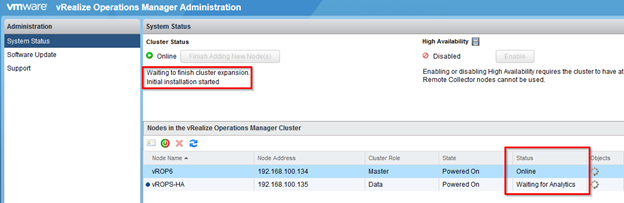
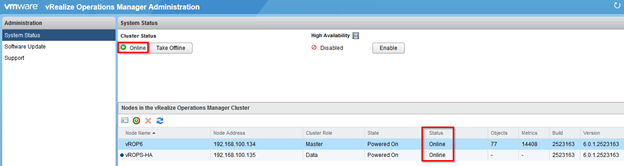
Notice that both servers are now online
-
To enable HA, click on the Enable button

-
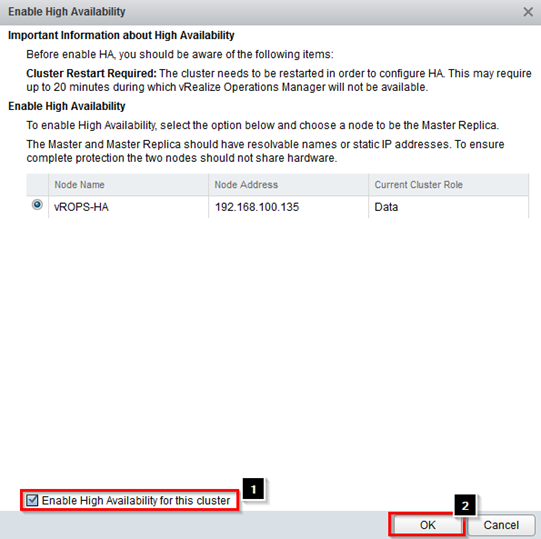
Check the box to enable HA for the cluster and then click on OK
-
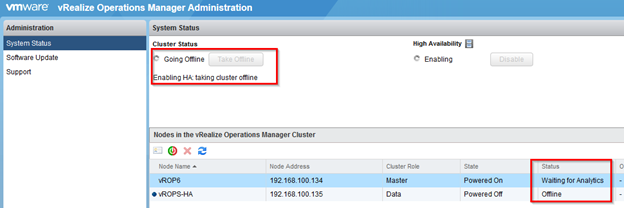
It will warn you that vROPs may be offline for 20 minutes. Click on Yes to configure

-
Notice how that status now changes
-
Once completed you will see that HA is now Enabled and the Cluster Role are labeled as Master and Master Replica
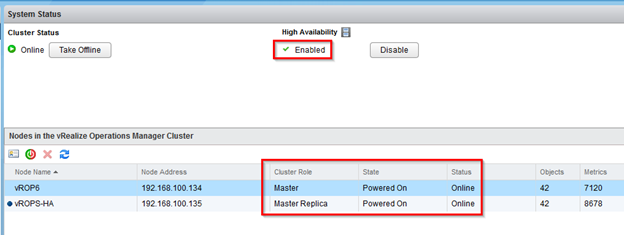
- It would be a good idea to add a load balancer and to also add DRS anti-affinity rules to separate the two VMs in vCenter