I personally am a huge fan of vSAN. Each new release of vSAN offers new improvements and functionality. As of right now Virtual SAN can deliver all-flash performance with up to 100,000 IOPs per host and can support vSphere availability technologies like High Availability (HA), asynchronous replication, stretched cluster capabilities, and storage efficiency features for all-flash including deduplication, compression and erasure coding.
Prerequisites and Notes
- Should have its own dedicated vSwitch
- Needs one SSD and two local disk total
- Needs a minimal of three host
- HA may need to be turned off temporary to activate vSAN for the first time. Once done you can go back and turn it back on.
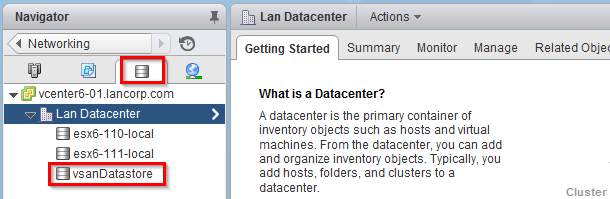
- Other Host not participating can see the vSANdatastore as well
Preparing the vDS Switch for vSAN
-
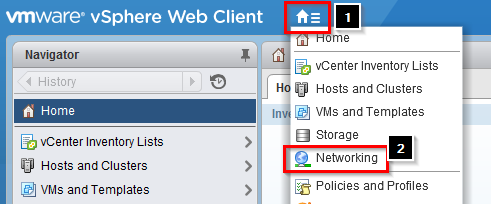
Login to vSphere Web Client

-
Click on Home > Networking
-
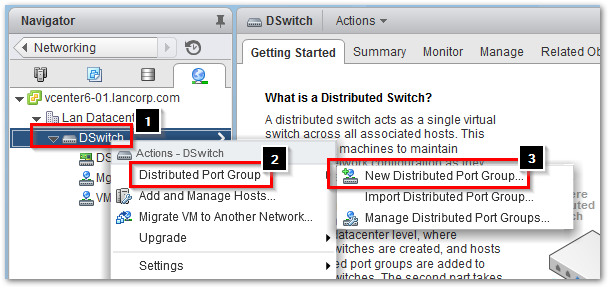
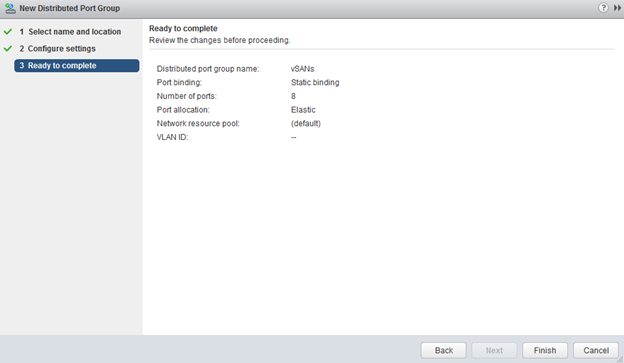
Right click on vDS switch and select Distributed Port Group > New Distributed Port Group
-
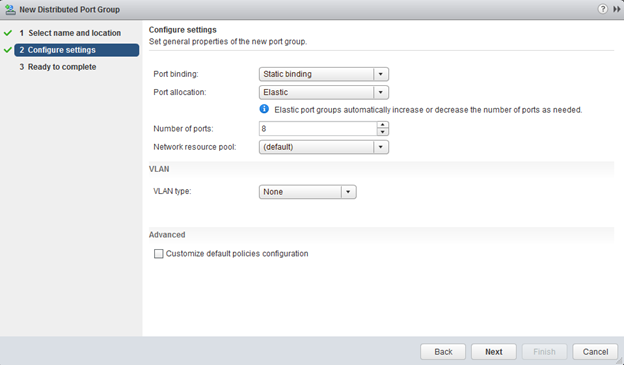
Provide a name for the vSAN Port Group

-
Edit the amount of ports and click on Next
-
Click on Finish
-
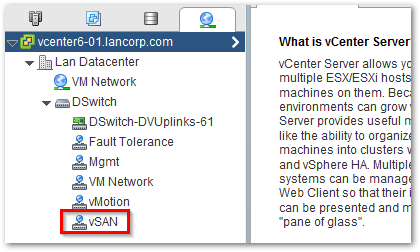
You should now see a vSAN port group
Preparing Host for vSAN
-
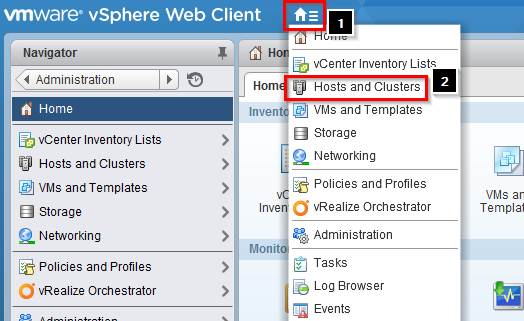
Login to vCenter Web Client
-
Click on Home > Host and Clusters
-
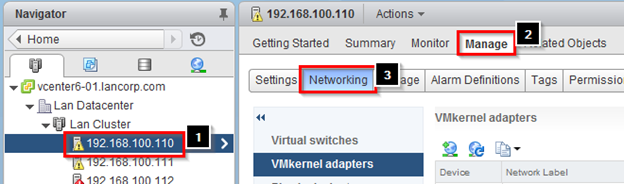
Select a host and click on Manage > Networking
-
Click the VMkernel Adapters >
Add Host Networking ( ) button
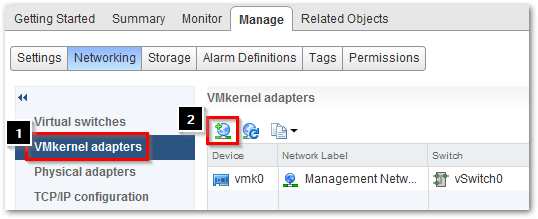
-
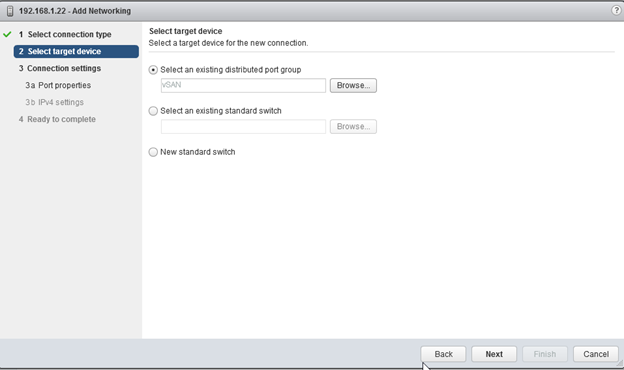
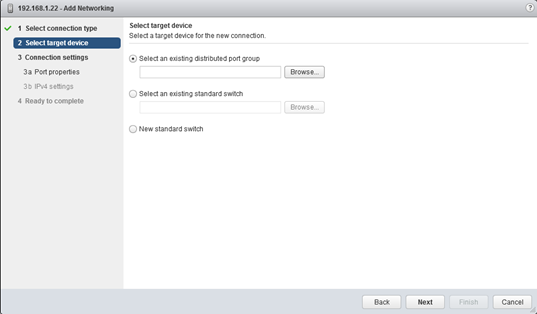
Select VMkernel Network Adapter and click on Next

- Select an existing port group and click on Next
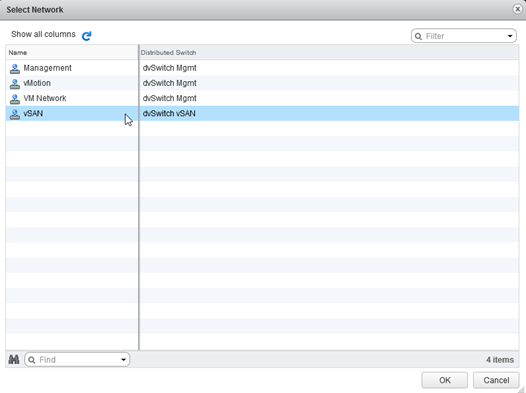
- Select the vSAN port group and click OK
-
Click on Next
-
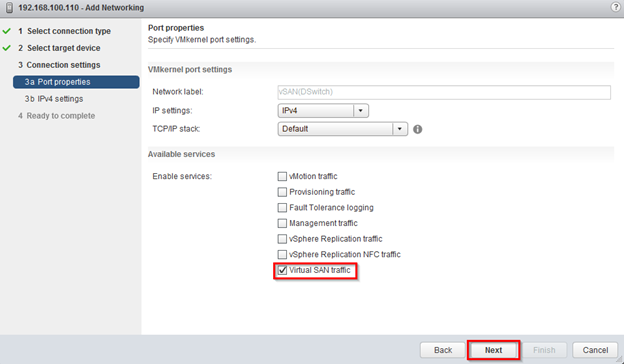
Check Virtual San traffic and click on Next
-
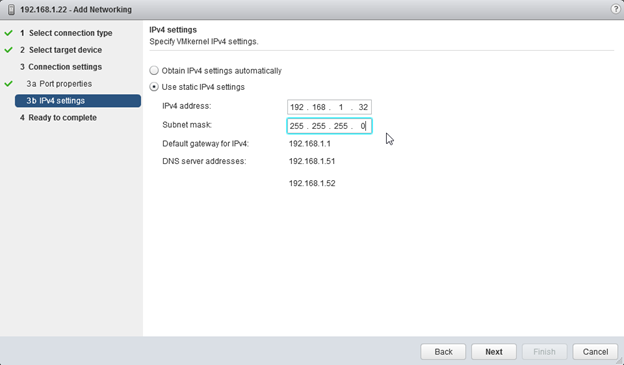
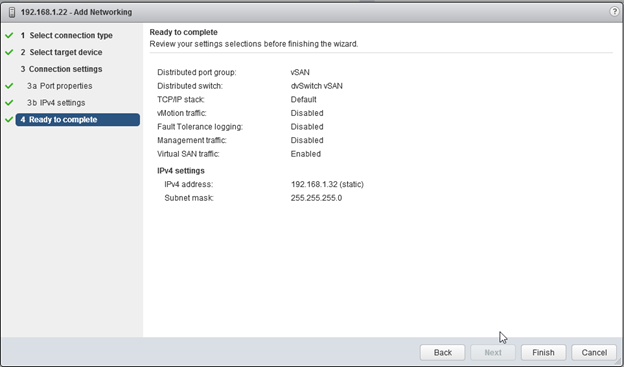
Select Use static IPv4 settings and enter the information and click on Next
-
Click on Finish
- Repeat these steps for each host you want to add to the vSAN Cluster
Configuring vSAN
-
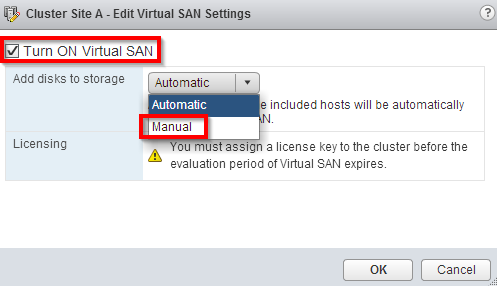
Select the Cluster and click on Manage > Settings > General and then click on the Edit button
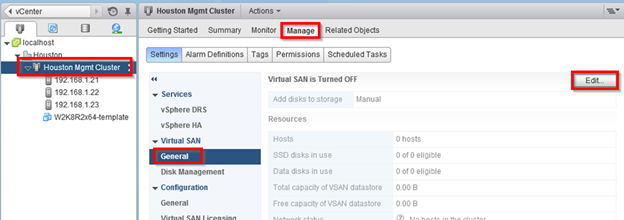
-
Check the box Turn ON virtual SAN and choose Manual from the drop down and click OK
-
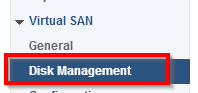
Click on Disk Management in the left menu
-
Click the
 icon
icon
-
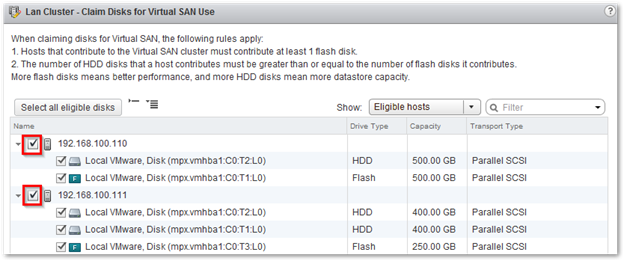
Select all the disk you want to add to vSAN and click on OK
-
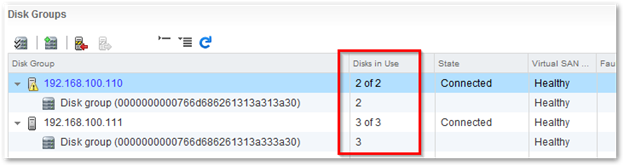
You are now ready to use your vSAN datastore
- Click on Storage and you should now see your vsanDatastore