vROPS 7.5 – How to create a Custom Profile Metric
Custom Profiles are now back in vROPS 7.5 and this version has made it a lot easier to add it as a metric. Why use custom profiles? This feature allows us to estimate how many VMs you can build in an environment (vCenter, Cluster, etc) based on CPU, Memory, and disk configurations that you set. In this guide I will walk you through the entire steps on how to enable it for a Cluster. You can also enable it for Datacenters, vCenters, and Host as well.
Click on Administration > Custom Profiles > Plus sign (+)

Provide a name and either manually assign the CPU, Memory, and Disk or choose from a VM that already exist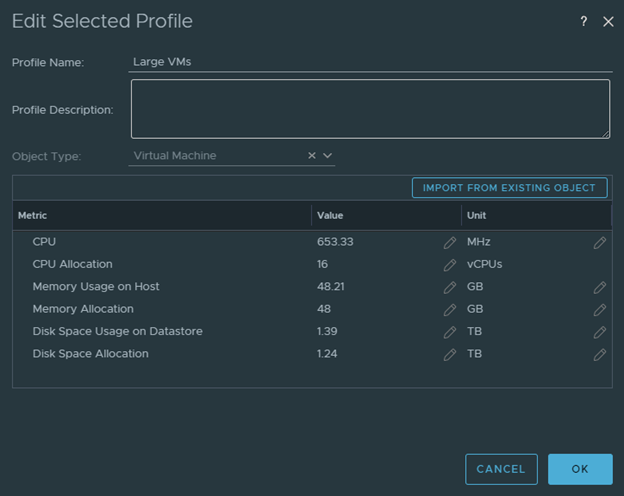
Now that we created a Custom Profile, we will need to enable the metric in Policies. Go to Administration > Policies
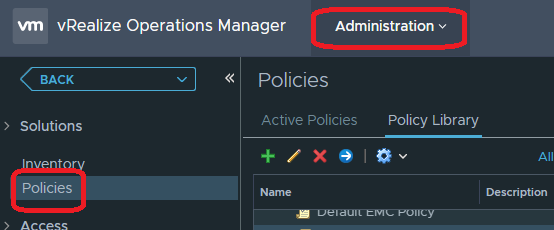
Click on Policy Library and select your default Policy. Then click on the Edit Icon to edit the policy

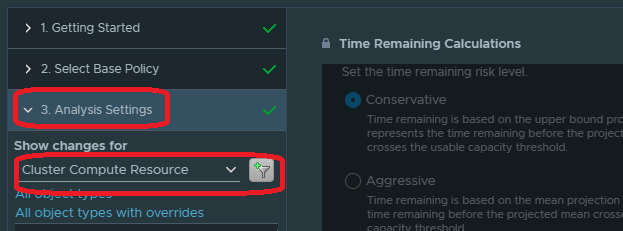
Expand 3. Analysis Settings, and look for vCenter Adapter > Cluster Compute Resource and click on the Add icon
You should now see Cluster Compute Resource settings on the right side. Look for Custom Profiles and click on the lock icon. This will allow us to modify the setting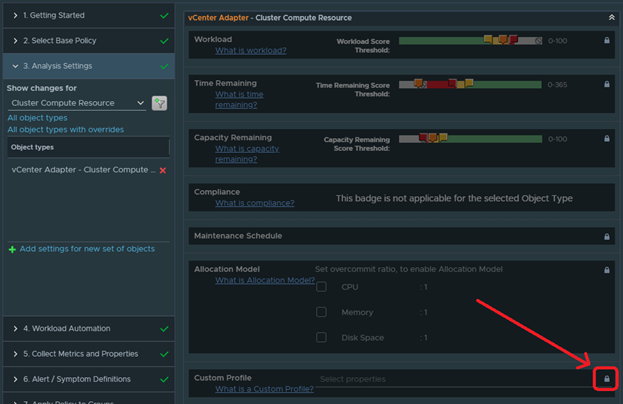
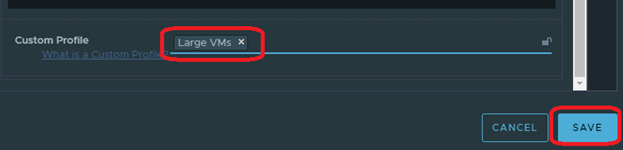
Look for the Custom Profile we just created and select it. Click on Save to save the policy.
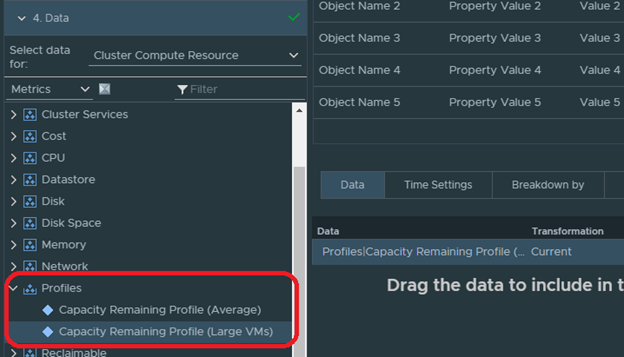
Wait at least 5 minutes and should now see your metric under Metrics > Profiles > Capacity Remaining Profile (). It is now ready to be added to a report or dashboard.